How to Transfer Tickets to a Friend Without Last-Minute Stress
4 min
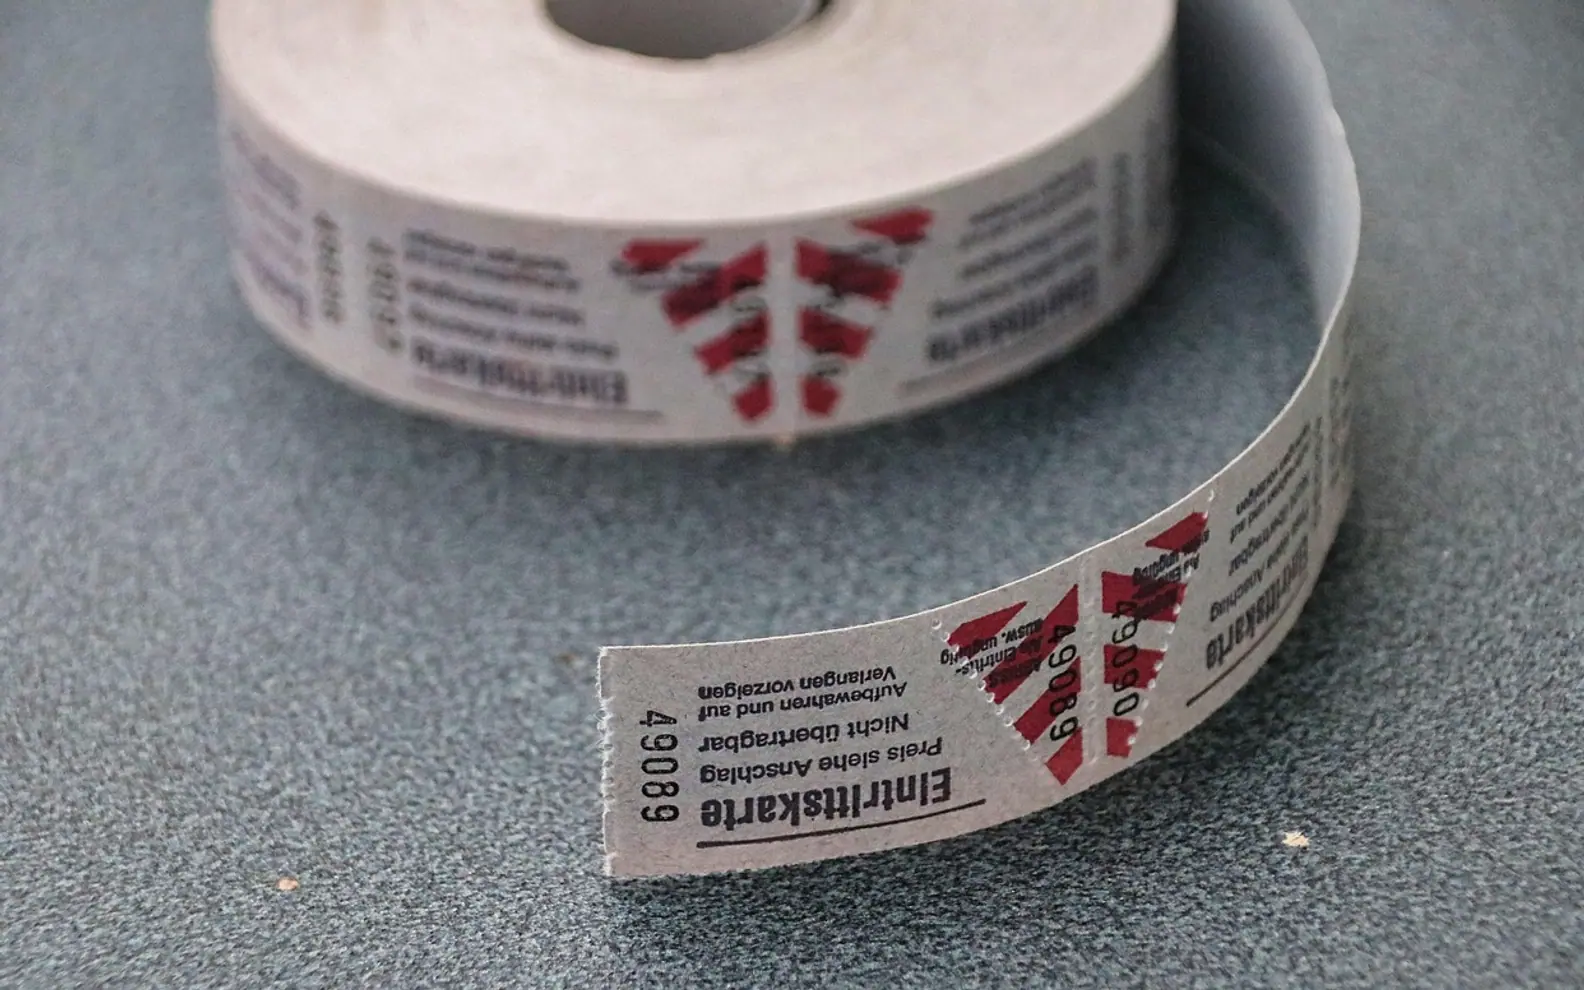
To transfer a ticket, open the official app or account where you bought it, find the event, choose the transfer or send option, select the seats, and enter the recipient's name and email address or phone number. The recipient accepts the transfer in their own account, and the ticket moves to their phone while yours is cancelled. Do it in the official app rather than by forwarding a screenshot or PDF, which often will not scan at the door.
The exact buttons vary between ticket sellers, and some events limit or block transfers entirely, so it helps to know how mobile tickets work before you rely on one.
How do mobile tickets work?
A mobile ticket is a record in the seller's system tied to your account. Your phone shows a barcode or QR code that the venue scans to check that the ticket is valid and has not already been used. To make copying harder, many sellers now use codes that change every few seconds, or that only appear in the app close to the event. Some can be added to the phone's wallet, and some work by tapping the phone on a reader.
This is why the transfer must go through the seller. When a ticket is sent properly, the system issues a new code to the recipient and cancels yours. A screenshot is just a picture of an old code, and with a changing barcode it may already be invalid.
Step by step: sending a ticket
- Check the event's rules. Look at the ticket details or the event page for wording about transfers, named tickets or ID checks.
- Open the official app or account and go to your tickets for that event.
- Choose transfer, sometimes called send or share.
- Select the seats to pass on. With a group booking you can usually send some and keep others.
- Enter the recipient's details exactly as they use them for their own account.
- Confirm and tell the recipient to look for the email or text, including in spam.
- Keep an eye on the status. Until the recipient accepts, many sellers let you cancel the transfer and keep the ticket.
Step by step: receiving a ticket
- Open the link in the email or text and sign in or create an account with the seller.
- Accept the transfer; the ticket then appears under your own events.
- Open it once before the day to check the seat and entry details.
- Charge your phone and, if the app allows, save the ticket to your phone's wallet in case the venue's signal is poor.
When a transfer may not be possible
| Situation | What it usually means |
|---|---|
| Transfer button missing | The organiser has disabled transfers, or they open later |
| Named tickets | The name on the ticket must match the holder's ID; changes may cost a fee or be impossible |
| Transfer window closed | Some events stop transfers a set time before doors |
| Card entry | The booking card must be shown at the door, so the buyer has to attend |
| Box office collection | Paper tickets collected in person, often with the booking card |
If you cannot see an option, contact the seller's support well before the event instead of hoping it will work out on the night.
Selling tickets you can't use
If you cannot go and no friend can use the ticket, look for the official resale or exchange option offered by the seller or venue. These usually re-issue the ticket in the buyer's name and pay you once it sells, which protects both sides.
Selling privately to a stranger carries risk for both people. Buyers may receive an invalid ticket, and sellers can face payment disputes. Many events cap resale prices or ban resale outside official channels, and some places have laws on ticket reselling, so check the event terms and local rules first. If you are the buyer, a seller who asks for payment by bank transfer to an individual and refuses the official route is a warning sign.
Common mistakes
- Waiting until the day. Transfers can take time to accept, and phones run out of battery. Send tickets a few days ahead.
- Typos in the email address. A transfer to the wrong address may be hard to undo once accepted.
- Splitting seats unintentionally. Check which seat numbers you are sending if your group wants to sit together.
- Relying on the venue's mobile signal. Open the ticket at home and use the wallet option where offered.
Before you head out
Once the tickets are where they should be, the rest is preparation: our checklist of what to bring to a concert covers a power bank and the items venues tend to refuse. If you go out often with the same people, record who holds which tickets in a shared calendar, and use our tips on finding local events to spot the next on-sale date early.
Questions? Write to us.
Corrections are always welcome.