How to Convert VHS to Digital and Rescue Old Home Videos
4 min
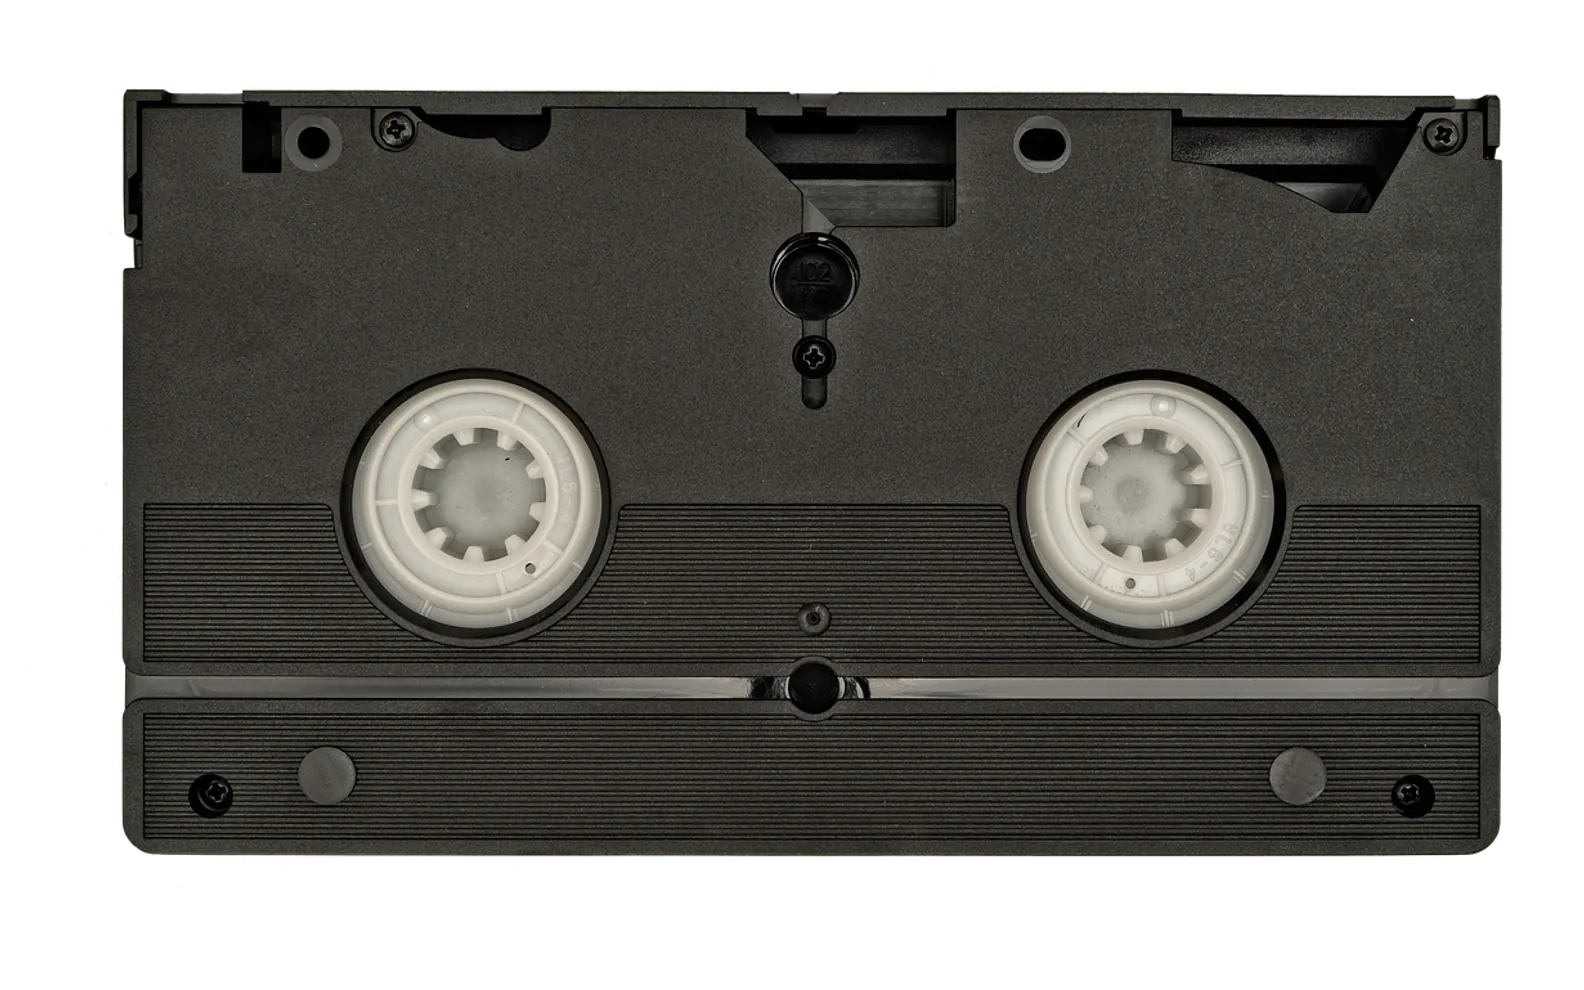
To convert VHS to digital at home, you play the tape on a working VCR, feed its video and audio outputs into a USB capture device plugged into a computer, and record the playback in real time with capture software. If you have no VCR, no time or tapes in poor condition, a transfer service will do the same job for you. Either way, the result is a video file you can watch, edit, share and back up.
It is worth doing sooner rather than later. Magnetic tape slowly degrades, working players are getting harder to find, and a single good copy is far safer than a cassette in the loft.
Three ways to digitize VHS tapes
| Method | What you need | Good for | Drawbacks |
|---|---|---|---|
| Do it yourself with a capture device | VCR, USB capture device, computer | Many tapes, full control, low running cost | Real-time recording takes hours |
| VCR/DVD recorder combo | Combo unit, blank DVDs | People without a spare computer | DVD quality limits; files must be copied off the disc |
| Professional transfer service | Just the tapes | Damaged, mouldy or rare tapes; no equipment | Costs per tape; you hand over the originals |
If you choose a service, ask what format and resolution you will get back, whether tapes are cleaned before playback, and how the originals are returned. Ask, too, whether you receive files or only discs.
The kit for doing it yourself
- A VCR in good working order. Borrow one or buy a tested second-hand unit. Models with a built-in stabiliser or time base corrector give steadier pictures, but any healthy player will do.
- A USB capture device with composite (yellow, red, white) or S-Video inputs. S-Video, where both the VCR and capture device have it, gives a slightly cleaner picture.
- Capture software. Many devices come with a program; free recording tools also work if they recognise the device.
- Disk space. Captures at high quality take room, so check you have plenty free on a fast drive.
Prepare the tapes first
A little care before playback protects both the tape and the player:
- Check for mould. Open the flap and look at the tape. White spots or fuzz mean mould; do not play it, as it can spread to the player's heads and damage the tape further. Mouldy tapes are a job for a specialist.
- Let cold tapes warm up. Tapes from a garage or loft should sit at room temperature for a day to avoid condensation.
- Fast-forward and rewind once. This evens out the tension on the reel and can reduce wobble during capture.
- Clean the VCR heads if the picture is snowy, using a proper head-cleaning method.
- Label as you go. Write down what each tape contains and note the file names you give it.
Step by step: capturing a tape
- Connect the VCR's video and audio outputs to the capture device, and the device to the computer.
- Open the capture software and select the device as the video and audio source.
- Set the video standard to match the tape: NTSC in North America and parts of Asia, PAL in most of Europe and elsewhere. Picking the wrong one gives a black-and-white or rolling picture.
- Choose the capture settings described below.
- Start recording, then press play on the VCR. Let the whole tape run; you can trim later.
- Stop recording at the end and check a few minutes from the start, middle and end of the file.
Settings and file formats
VHS is standard definition, so capturing above its native resolution adds no detail. Capture at 720 × 480 for NTSC or 720 × 576 for PAL, with the frame rate the device suggests.
Think in two copies:
- A master at the highest quality your software offers. It is large, but it is the copy you would re-edit or re-export from in future.
- A viewing copy as MP4 with H.264 video and AAC audio. It plays on almost any phone, laptop or smart TV and is small enough to share.
VHS video is interlaced. Most editors and players deinterlace automatically, but if you see comb-like lines on moving objects, turn on deinterlacing when exporting the viewing copy. For more on why some files play everywhere and others don't, see our explainer what is a video codec.
Common problems and fixes
- Picture jitters or tears at the bottom. This is normal head-switching noise; crop or mask a few lines when editing.
- Sound and picture drift apart over a long tape. Capture in shorter sections, or use software that locks audio to video.
- Capture stops or drops frames. Close other programs, use a different USB port and record to a fast internal drive.
- Black screen on shop-bought films. Commercial tapes often carry copy protection, and copying them may not be permitted. This guide is about your own recordings.
After the transfer
Trim the empty sections, split long tapes into chapters, and give each file a clear name with a date and occasion. Then protect the work: keep at least two copies on separate drives, with one stored somewhere other than your home. Keep the original tapes too, stored upright and away from heat and magnets.
The finished clips can become the centrepiece of a family film night; our movie marathon ideas work just as well with old birthdays and holidays, and decades-old party footage can even inspire the next celebration, with help from our winter decoration tips for children's parties. To show them on a big screen from a laptop, or the other way round, our guide on how to use a laptop as a monitor explains which connections run in which direction.
Questions? Write to us.
Corrections are always welcome.